![]()
![]()
![]()
|
|
Picture 1. Hardened guides are attached to the machine bed WIAP DM3S
Picture 2. Carriage assembly
Picture 3. Ball screw mounting
Picture 4. Lining bracket for WIAP DM3S
Picture 5. Purchased material
Picture 6. X carriage is reworked
Picture 7. Sliding surface scraping the Z carriage
Picture 8. The lubrication holes are drilled on the X slide. Some more than 140 mm long, that everything can be fed centrally
Picture 9. X slide the gliding surface is glued and secured with brass screws
Picture 10. The CNC control is ready for mounting
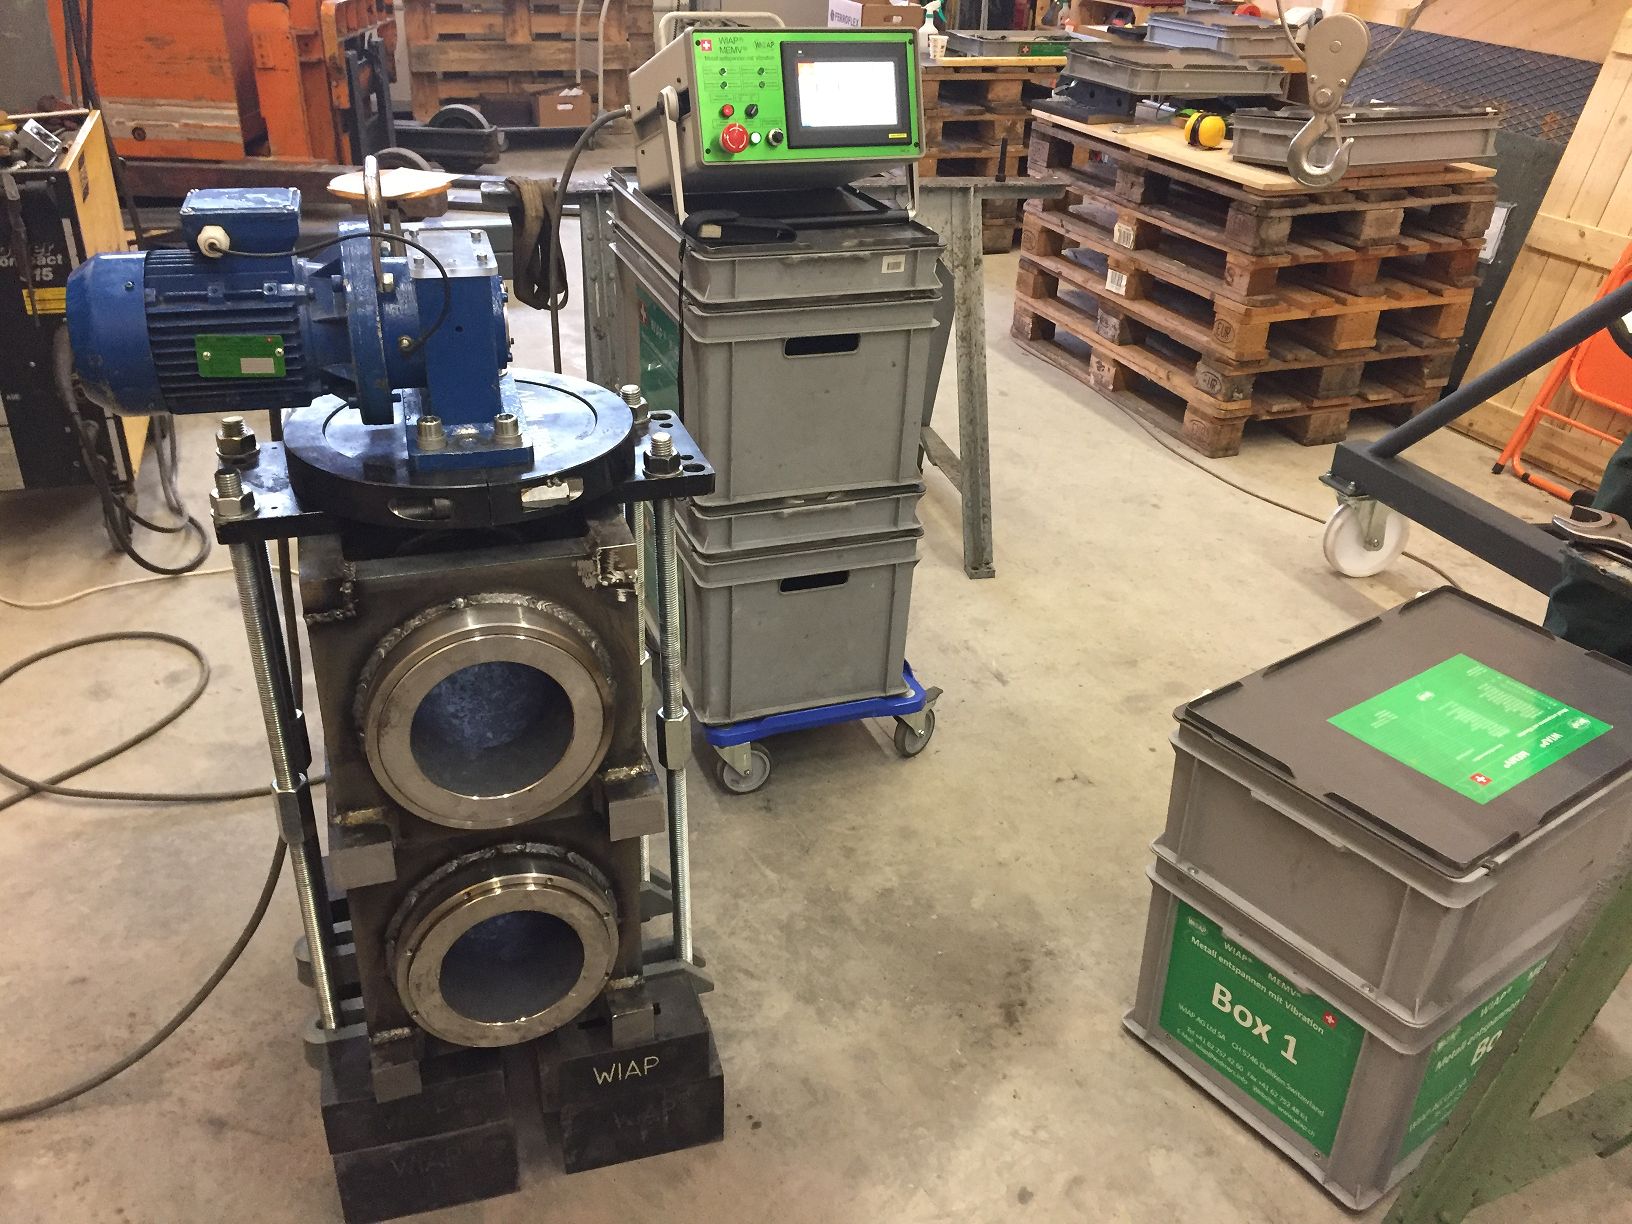
Picture 11. It takes 2 simultaneous headstocks for this WIAP DM3S machine
|
Picture 12. In order to be able to keep the precision, both headstocks are relaxed in the multi-directional method MEMV
Picture 13. Now the raw and finished bunker is still manufactured in the Dulliken factory. In addition to construction also all welding work of WIAP
Picture 14. There are a few hours of welding
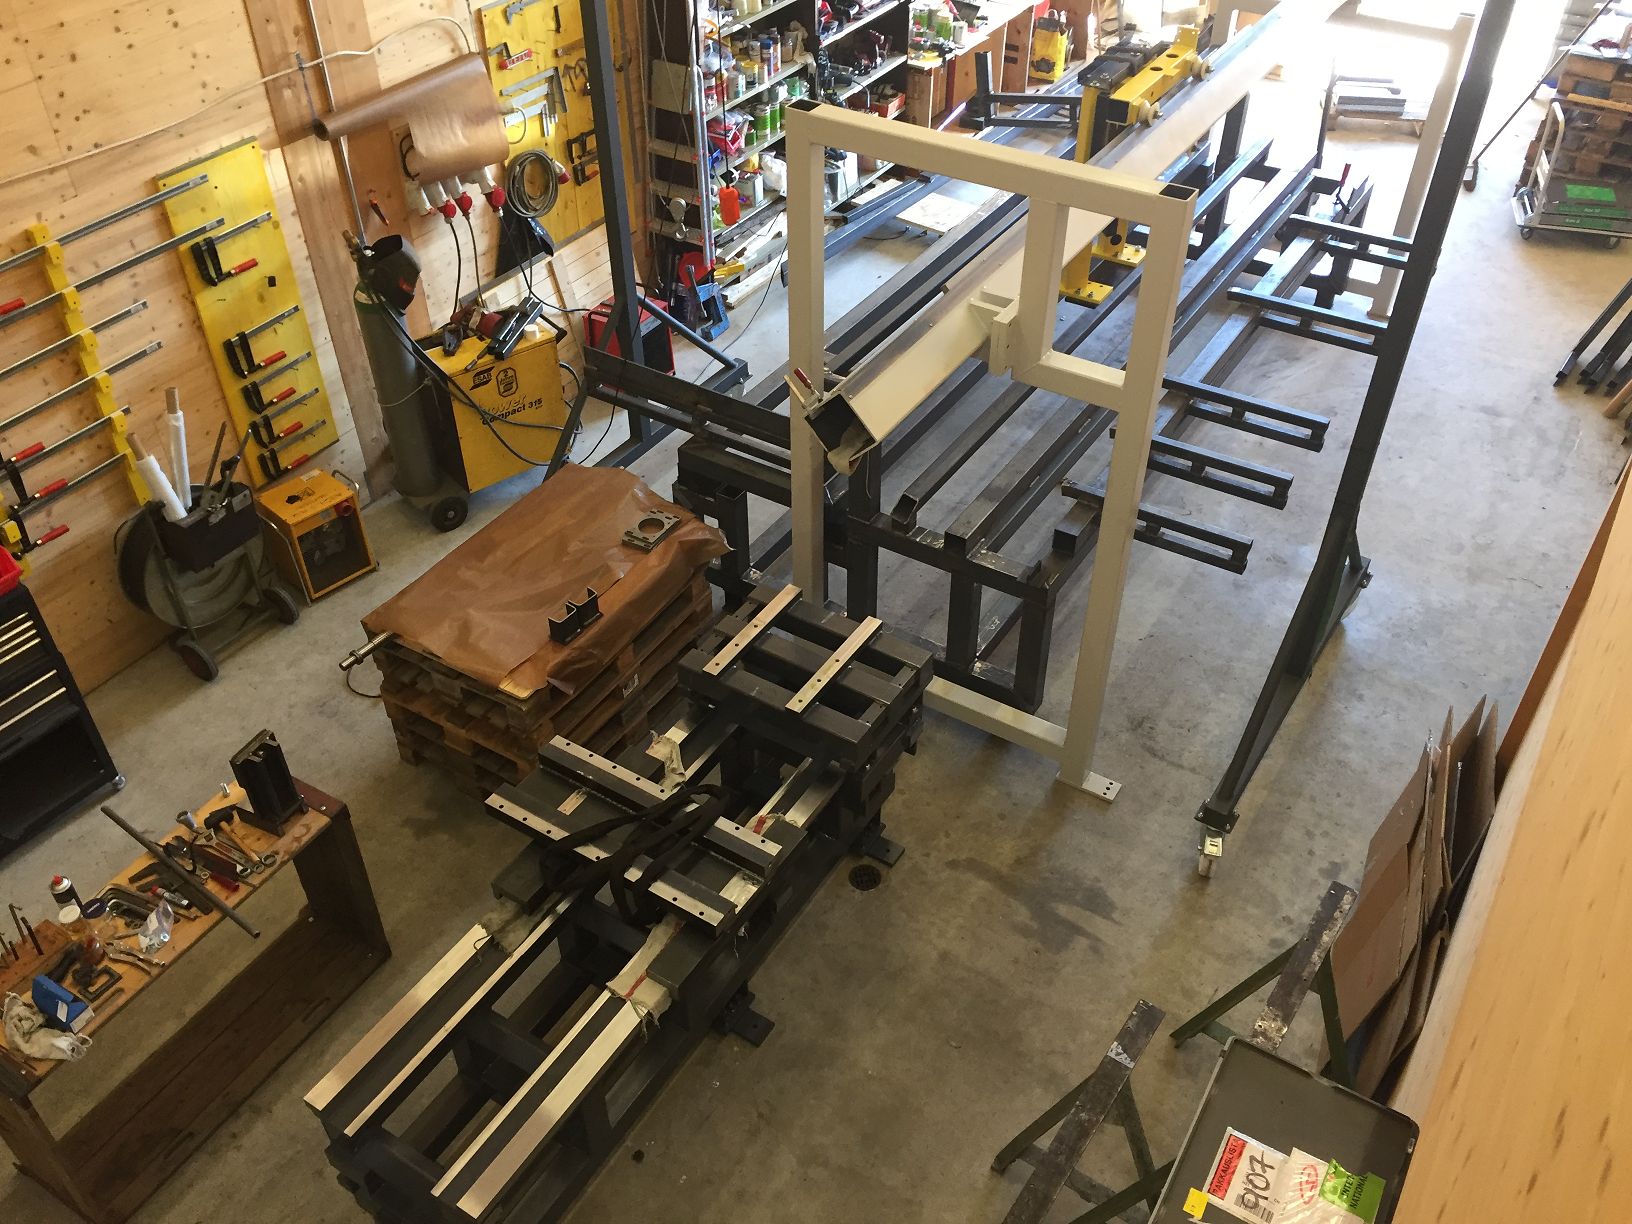
Picture 15. Here top view, the machine base bed with the automation in the assembly
Picture 16. Here side view, the machine base bed with the automation in the assembly
Picture 17. Still a lot to weld
Picture 18. The rebar up to 4 meters have space on the frame
Picture 19. The frame in front of the painting
Picture 20. Now the base frame WIAP HLV is ready, painted for final assembly. Everything is covered with plastic
|
|
![]()
![]()
![]()